CRIS User Guide


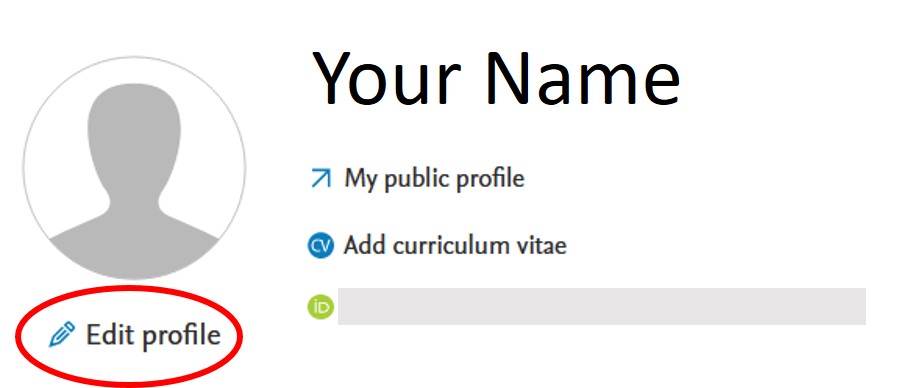
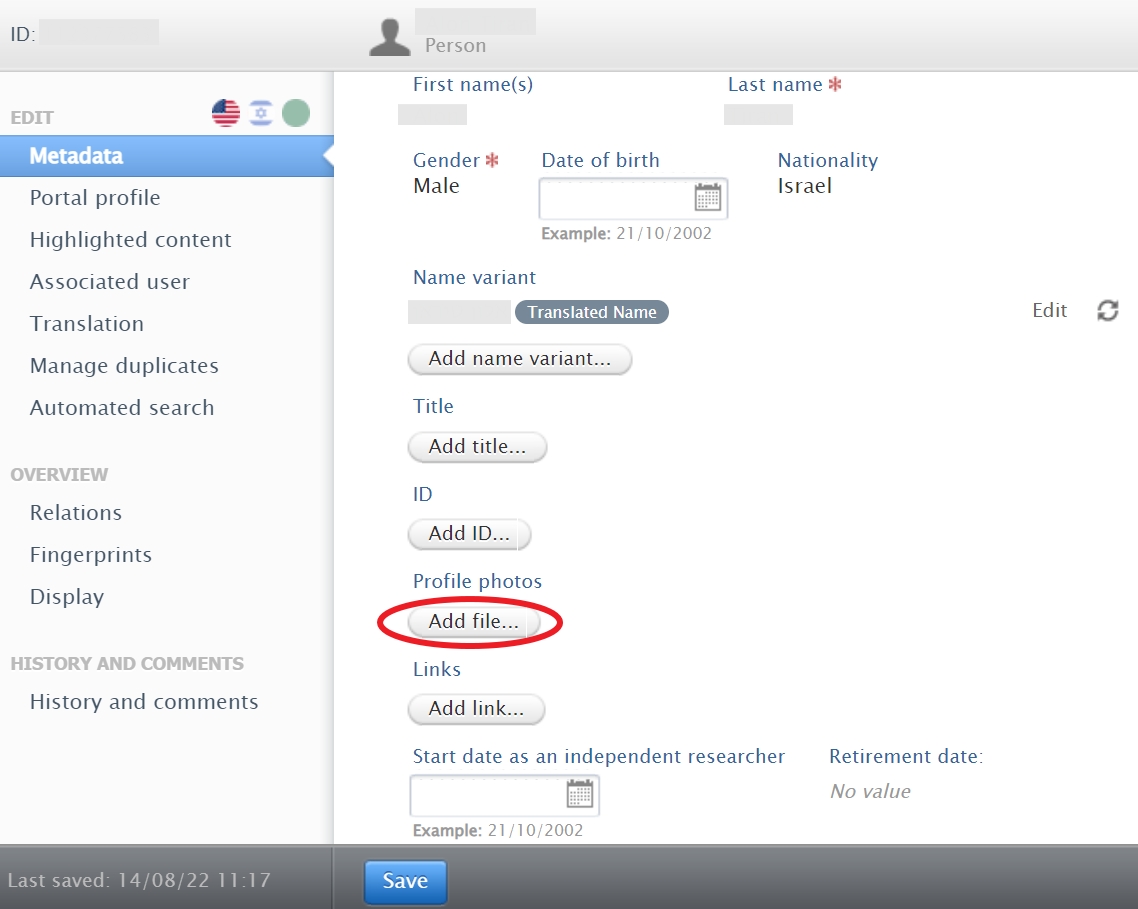
To edit personal data in your CRIS profile, click Edit Profile in your personal overview page:
Your primary name in CRIS is synchronised automatically with human resources and/or student administration systems.
Synchronised content (marked with the icon:  ) can only be changed in CRIS once changed in the university’s HR system. If a correction of the primary name is required, please contact your faculty human resources administrator.
If you publish(ed) under a name other than the name displayed in your CRIS profile, you can contact the CRIS team at your library, and we will add it to your personal info in CRIS.
If your name as it is registered in the human resources system is correct, but you want a different name variant, for example, your nickname, to be displayed in the header of your profile in the CRIS portal, you can add a "known as" name. Note that this will change only the name in the header of your profile but not the name(s) in the publications in CRIS.
To add a "Known as" name variant:
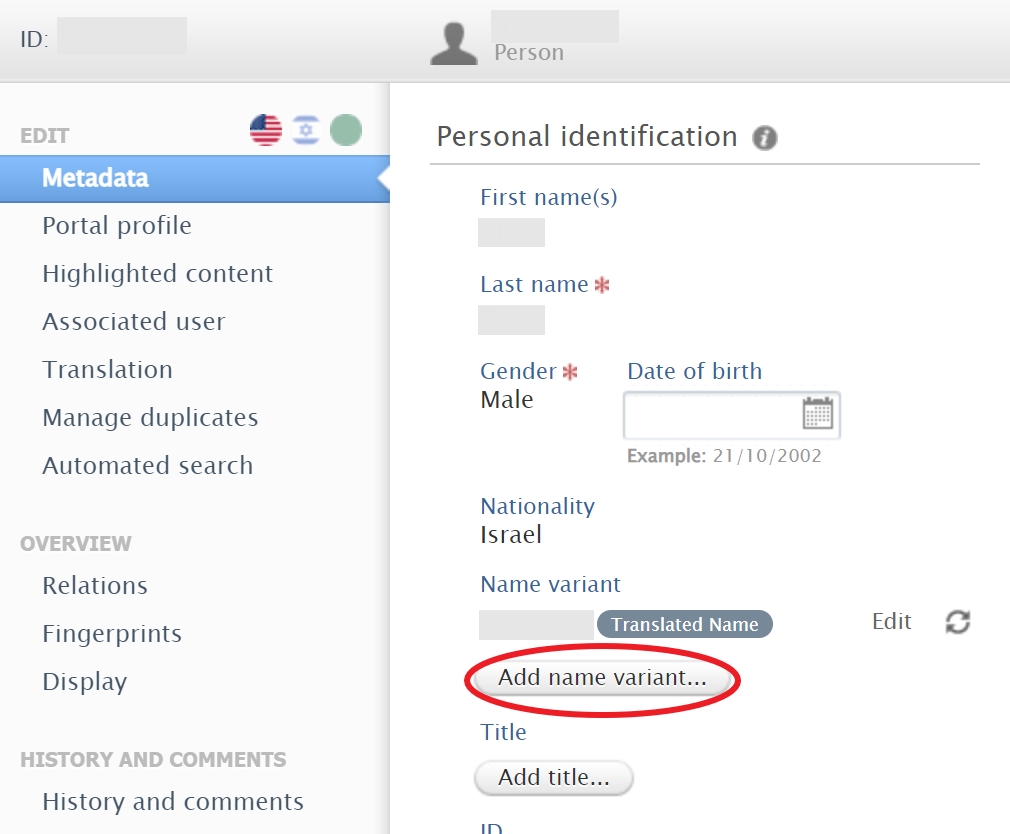
1. Click Add name variant in your profile record.
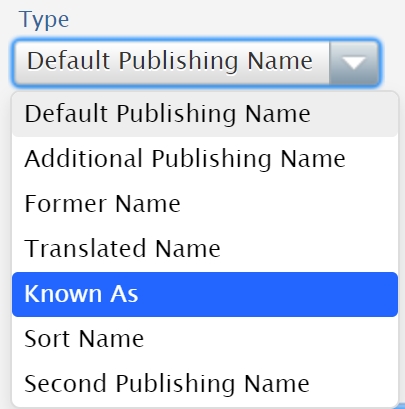
2. Choose Known As from the list of the name variants types.
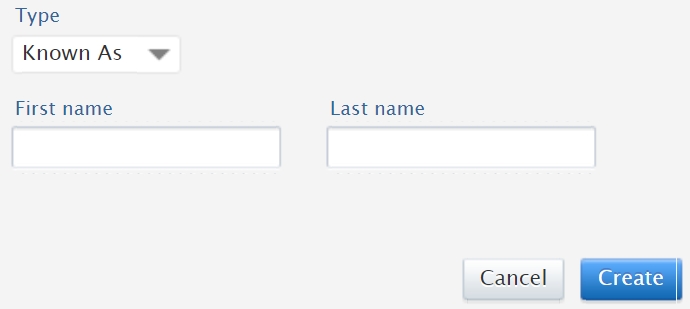
3. Fill in the First and Last names.
4. Click Create.
5. Click Save at the bottom of your profile record.
If you need assistance in adding a name variant, please contact us.
Changing profile photo
To add a profile photo:
1. Click Add file under "Profile photos" in your profile record.
2. Drag the file or browse your computer and upload the file.
File types accepted: .jpg, .jpeg, .png, .bmp, .gif.
Max. filesize: 1 MB.
3. Choose Portrait in the type of the picture
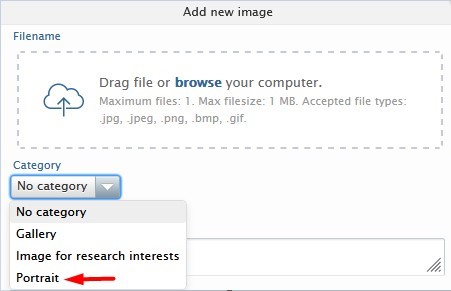
4. Click Create.
5. Click Save at the bottom of your profile record.
To replace the photo with another one, go to Profile photos and click the "-" icon to delete the existing photo, upload the desired photo, and then Click Save at the bottom of your profile record.

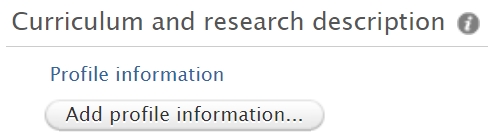
The English text with your research interests is also used to enhance your fingerprints, so it is recommended to enrich it.
To add information on your academic degrees:
1. Click Add education/academic qualification in your profile record
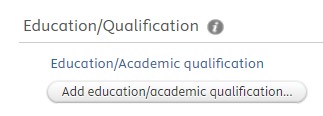
*Note: Non-academic studies can be added by clicking “Add professional qualification”.
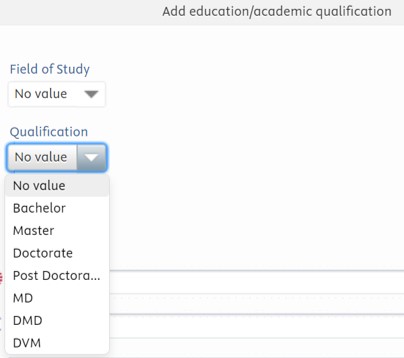
2. Skip “Field of Study” and proceed to “Qualification”.
* Field of study can be specified in “Project title” (see instructions below).
3. Choose Qualification
4. You may choose Distinction

5. Fill the Project Title, i.e., the title of your thesis/ dissertation.
Here you can also specify the field of study of the added academic degree.
6. Add Award Date
7. Add Organization
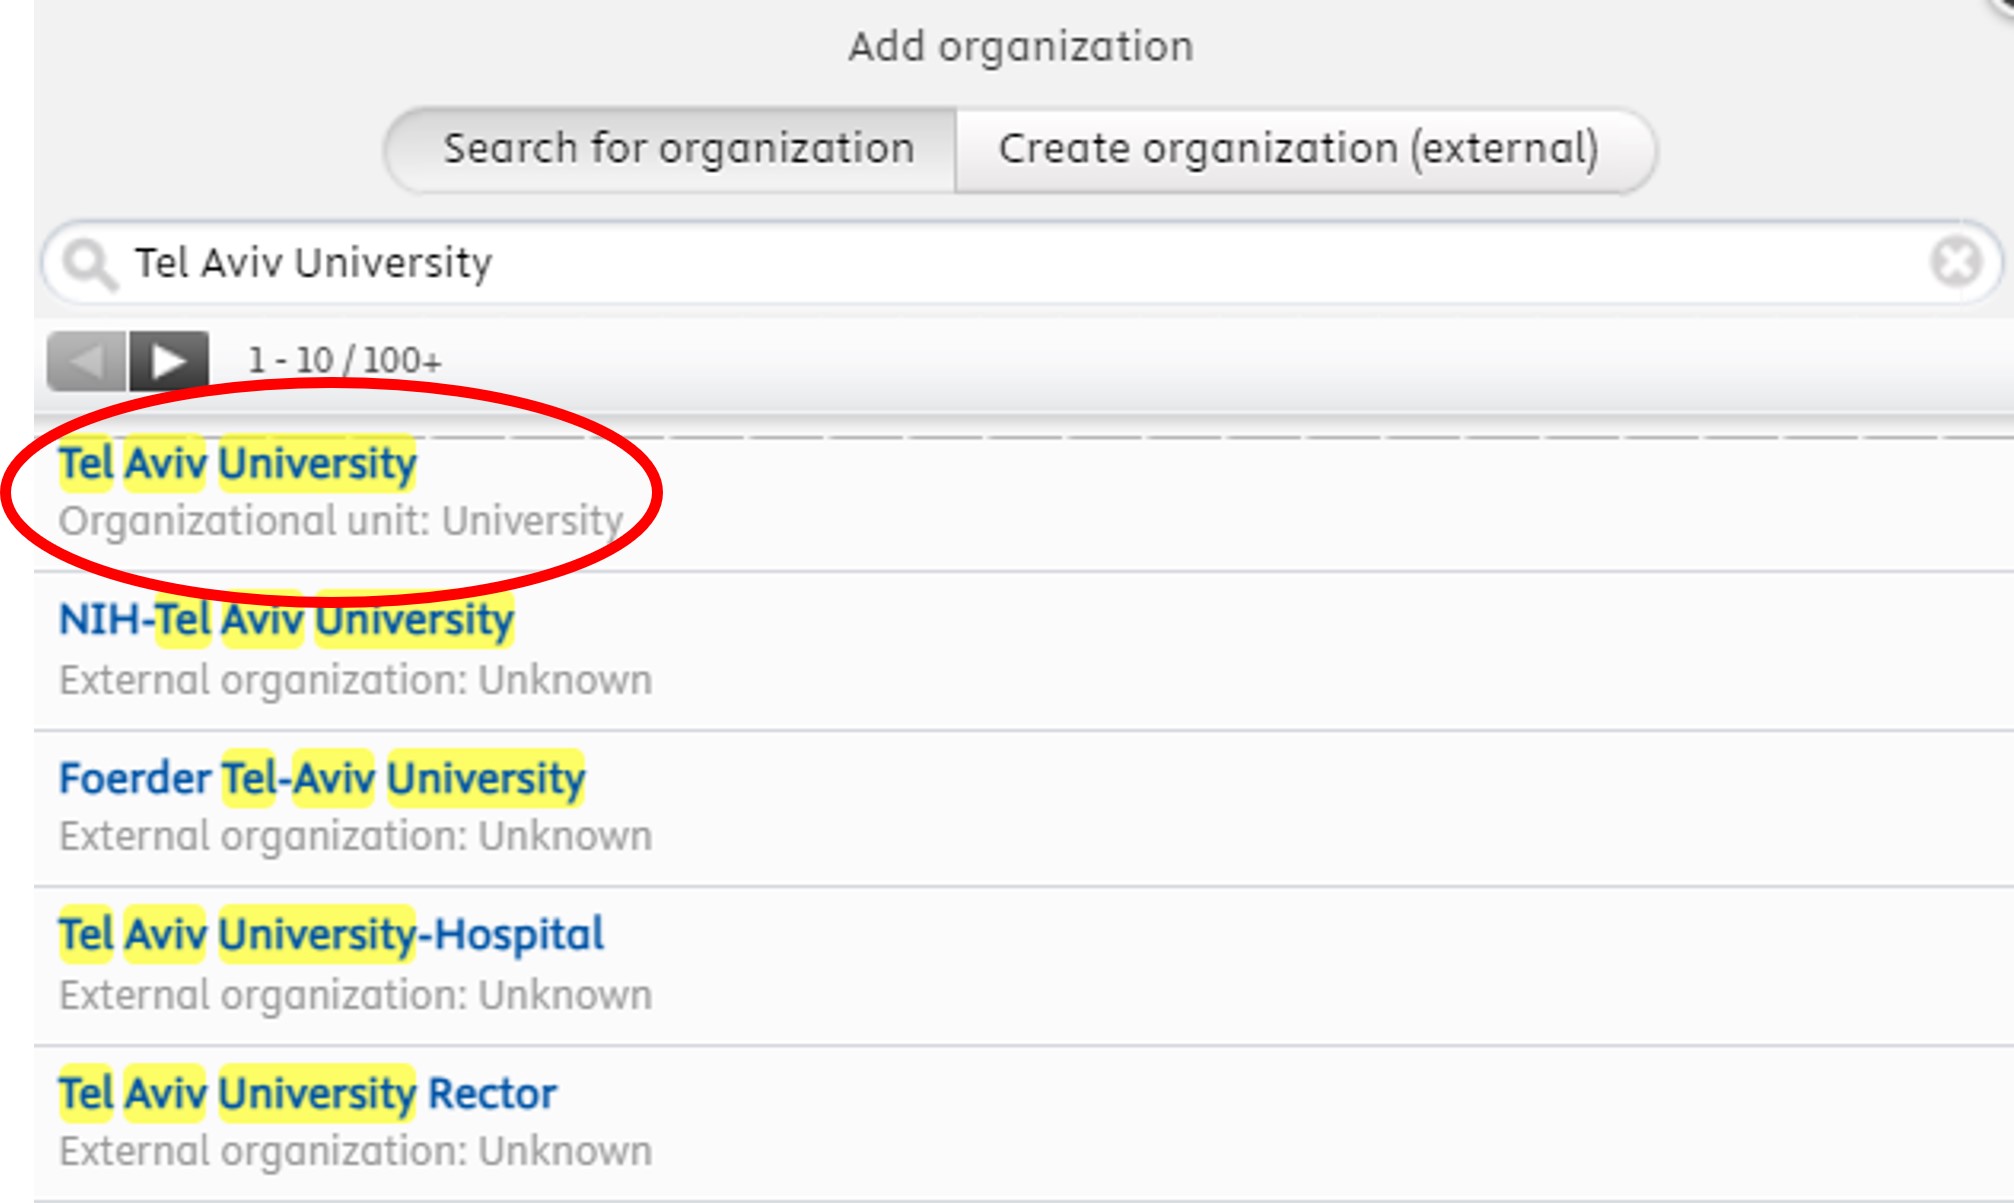
For qualification granted by Tel Aviv University choose the Tel Aviv University entity with the tag “Oraganzitional unit: University”.
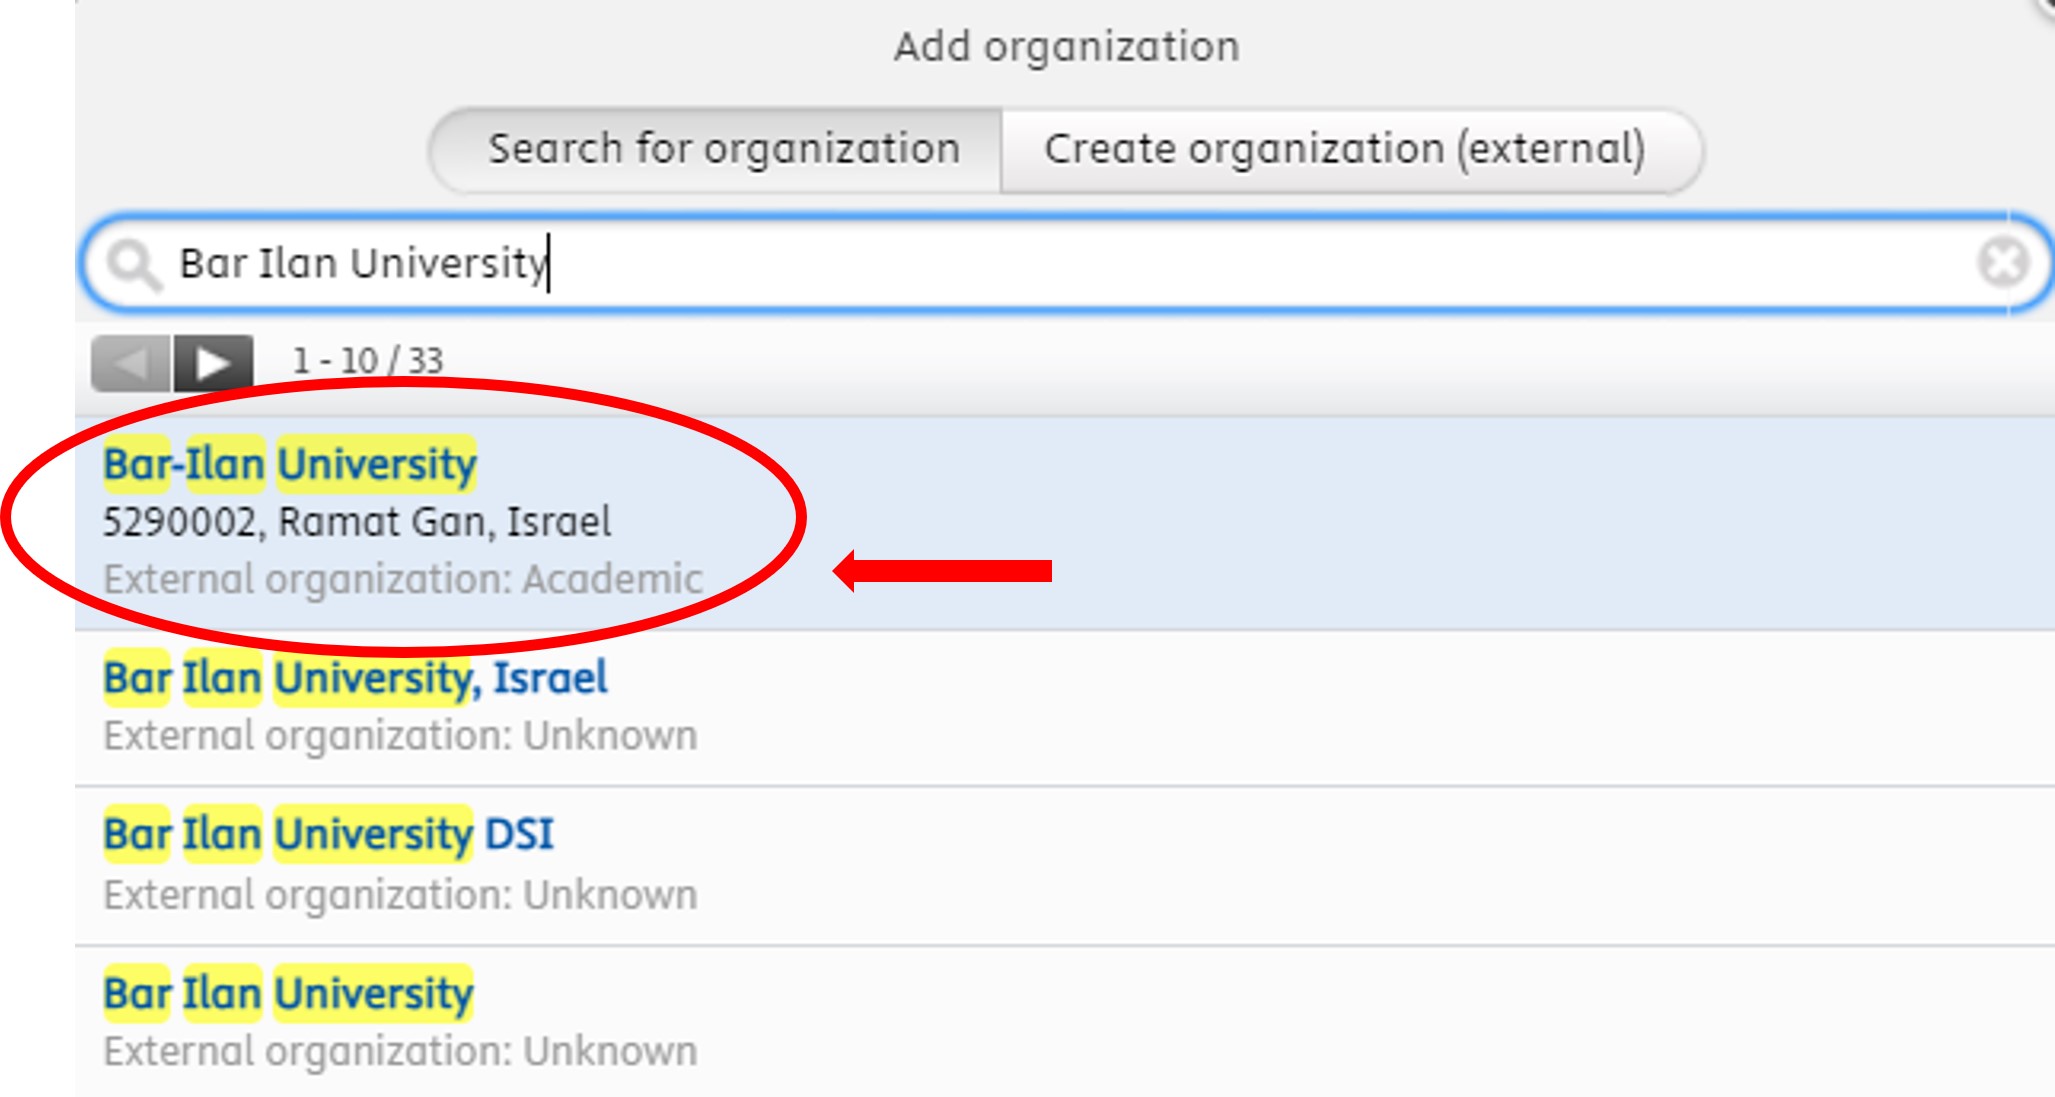
For qualification granted by a different organization than Tel Aviv University, you can choose it from the existing list. If you find multiple entities of the organization in the list, choose the one with the tag “External organization: Academic”. For example:
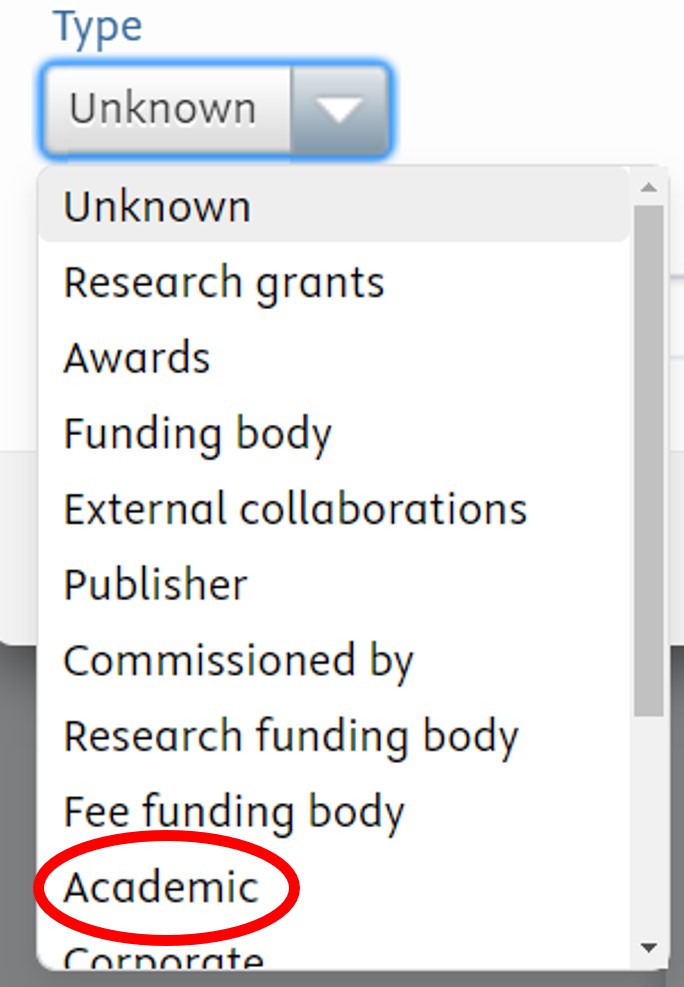
In case the organization does not appear in the search list, create a new one:
- Click Create organization (external)

- Choose Type: “Academic”
- Choose Country/Territory
- Add the Name of the organization
- Click Create
8. Add Supervisor/ Host
Search the name of the supervisor/ host in the existing list and choose the most suitable entity if there are multiple options.
In case the name does not appear in the search list, create a new one:
- Click Create person (external)
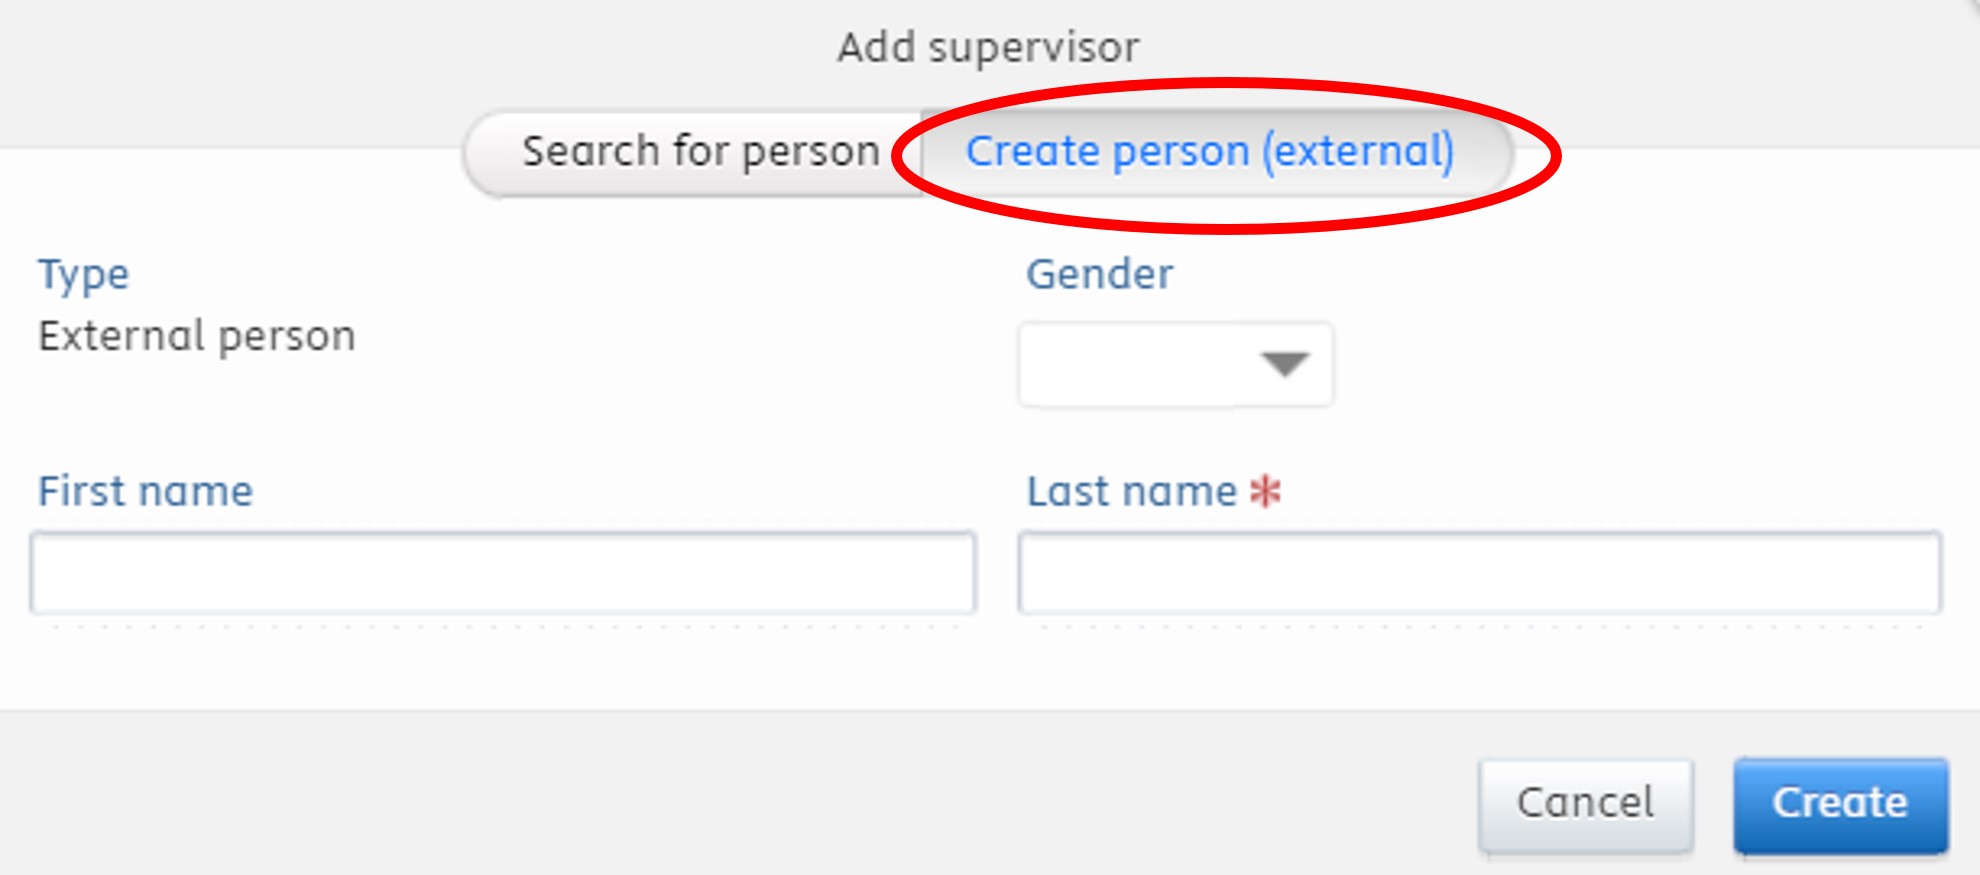
- Fill in First name and Last name
9. You may add the Start Date and End Date of the academic qualification.
10. Click Create.
11. Click Save at the bottom of your profile record.
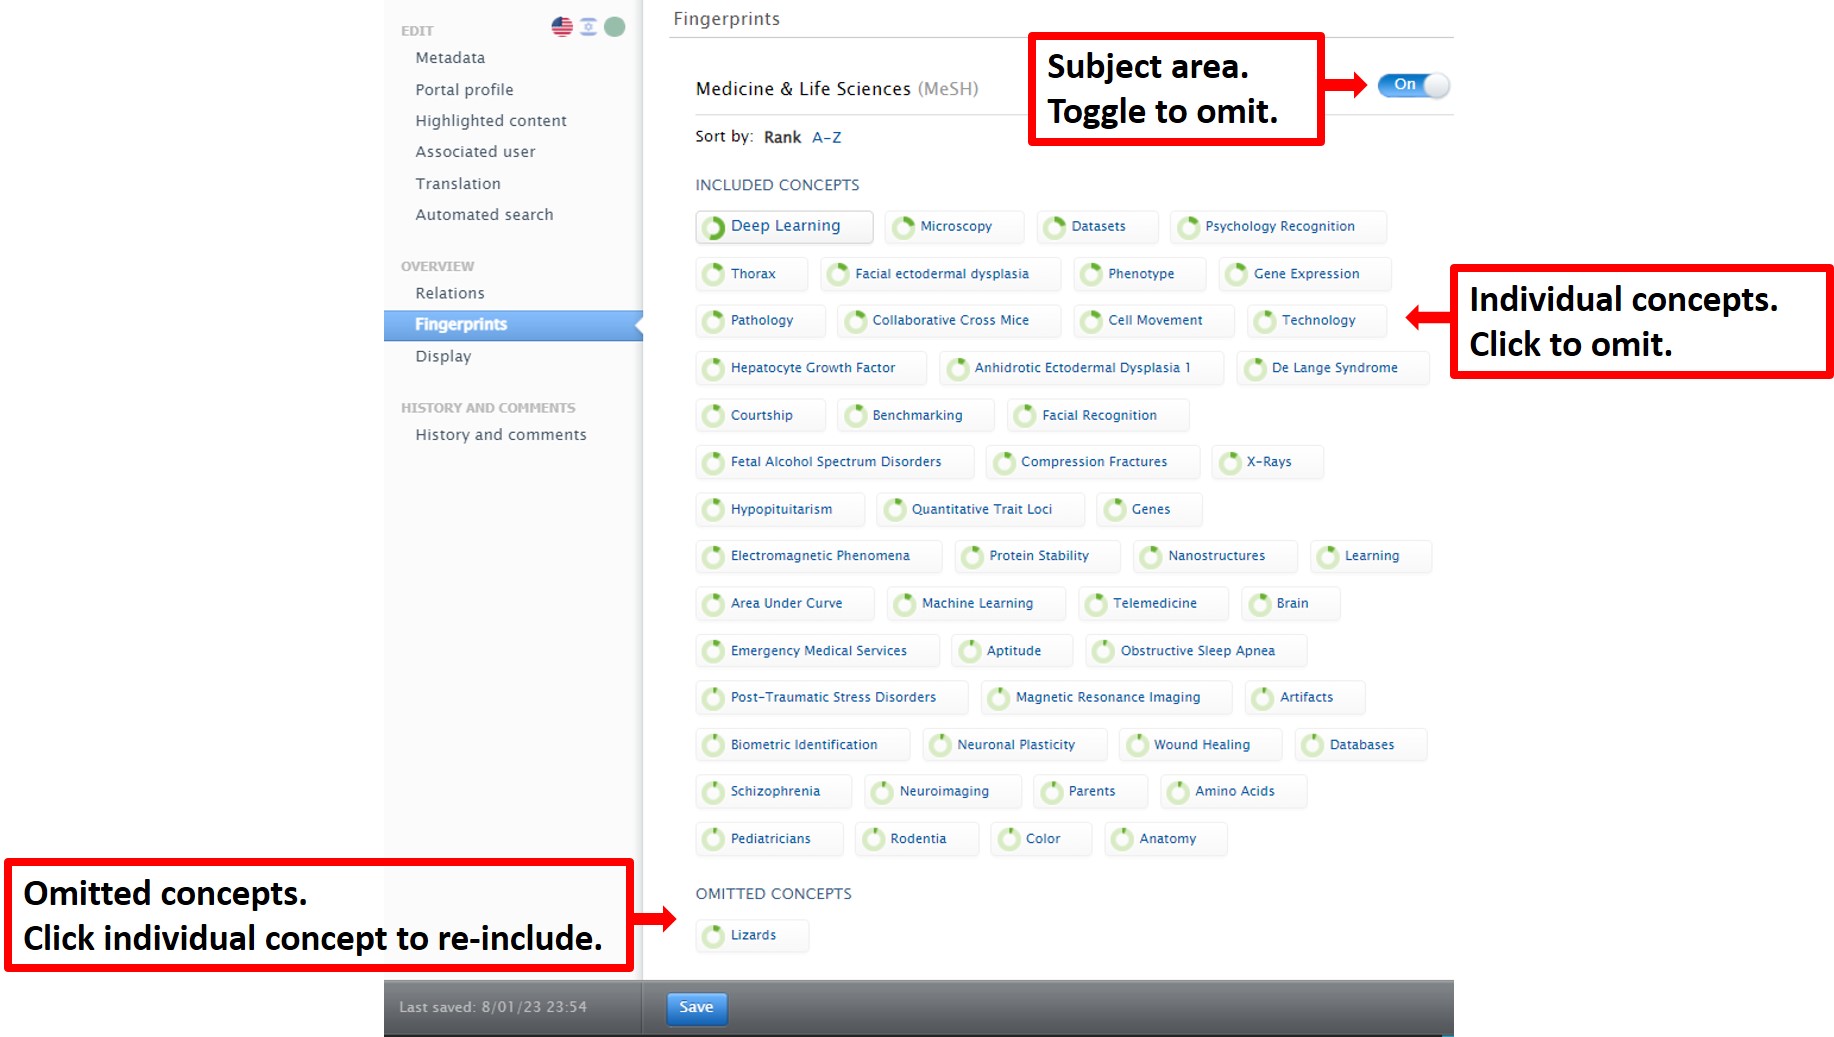
You can exclude irrelevant concepts or irrelevant subject thesauri of concepts.
Click “Fingerprints” in the menu on the left side in your profile record.
- To omit an entire subject area, use the on/off toggle located to the right of each subject area.
- Click an included individual concept in the subject area to omit it. The concept will move to the bottom of the subject area, to the “omitted concepts” section.
- To re-include omitted concepts, click the desired concept, and it will move back to its appropriate location in the fingerprint.
After adjusting your fingerprints, click Save at the bottom of your profile record.
- h-index
- Usage
- Captures
- Social Media
- Mentions
- Citations
All of them are based on PlumX data, unless otherwise stated for h-index.
Note that the PlumX h-index is not identical to Google Scholar/ Web of Science/ Scopus h-indices, as each database calculates the h-index based on the citations in that specific database.
See information on the PlumX Metrics.
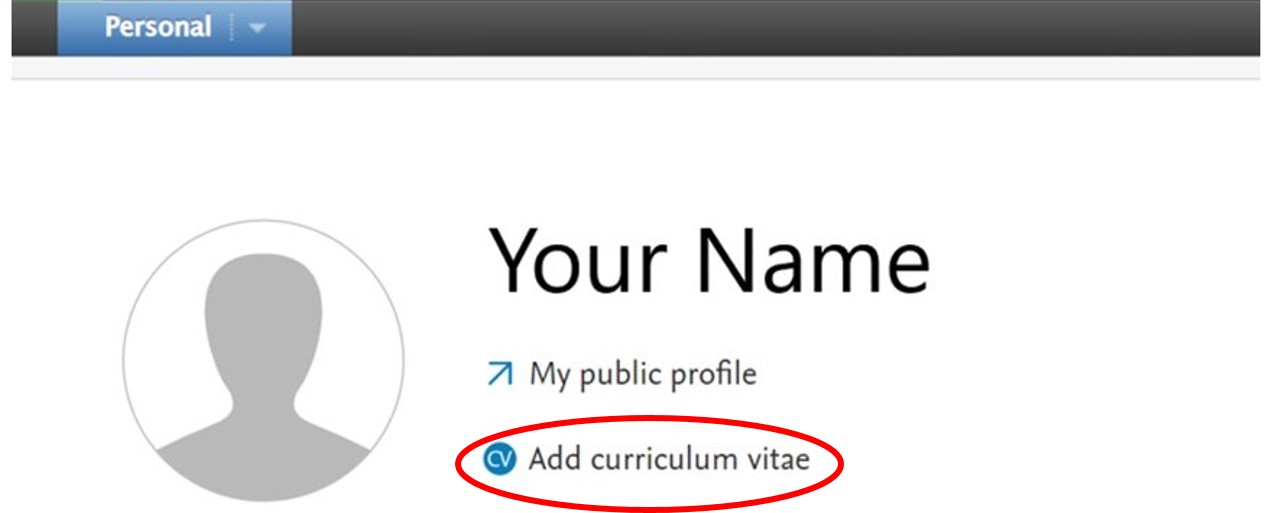
CRIS supports various CV formats.

To delete the CV, click Delete at the top of the CV.